Best Bicycle Seats for Ultimate Comfort: A Complete Selection Guide
Finding the perfect bicycle seats can transform your ride from a painful chore into a joyful experience. Whether you are a weekend cruiser, a daily commuter, or an endurance athlete, your saddle is the primary contact point between you and your bike. A poor choice can lead to numbness, chafing, and even long-term injury. This guide will walk you through the essential factors for selecting comfortable bicycle seats.
Understanding Your Riding Position
Your riding style dictates the shape and width of the saddle you need. The goal is to match the seat to your pelvic rotation while pedaling.
Upright vs. Leaning Forward
- Upright Position (Cruisers, City Bikes): You sit nearly straight up. Your pelvic bones (sit bones) are fully engaged. You need a wider, often more padded saddle.
- Leaning Forward Position (Road Bikes, Mountain Bikes): Your upper body tilts downward. Your pelvic bones rotate forward. A narrower, longer, and firmer saddle supports this posture without chafing your inner thighs.
The Science of Sit Bone Measurement
This is the most critical step. Your sit bones are the two bony protrusions at the base of your pelvis. They bear your weight on the saddle.
- Why it Matters: If your saddle is too narrow, your sit bones will fall off the edge. This forces your soft tissue to take the weight, causing numbness and pain.
- How to Measure: Visit a local bike shop for a professional measurement (often using a pressure pad or gel pad). At home, you can sit on a piece of corrugated cardboard for 30 seconds. The two indentations are the center of your sit bones. Measure the distance between the centers.
- General Guideline:
- Narrow (100-120mm): Usually for flexible, athletic riders.
- Medium (130-145mm): The most common range for average riders.
- Wide (150mm+): Typically for upright riders or those with a wider pelvis.
Padding: More Is Not Always Better
Many riders assume a thick, gel-filled saddle equals ultimate comfort. This is a myth.
- Foam vs. Gel:
- High-Density Foam: Provides consistent support and rebounds quickly. It does not bottom out over long rides.
- Gel: Feels soft initially but can shift under pressure. Over time, gel can break down and cause hot spots.
- The “Plush” Trap: Excessive padding can actually increase pressure by compressing soft tissue against hard bone. A firm, supportive saddle distributes pressure evenly across your sit bones.
- The Two-Week Rule: Most saddles have a break-in period. Give a new saddle about 14 hours of riding before you decide it is uncomfortable.
Key Features to Look For
Cutout (Pressure Relief Channel)
A cutout or channel down the center of the saddle relieves pressure on the perineum. This is vital for preventing numbness and maintaining blood flow.
- Who Needs It: Riders prone to saddle sores, numbness, or those who spend long hours in the saddle.
- Best For: Both men and women, particularly in a forward-leaning position.
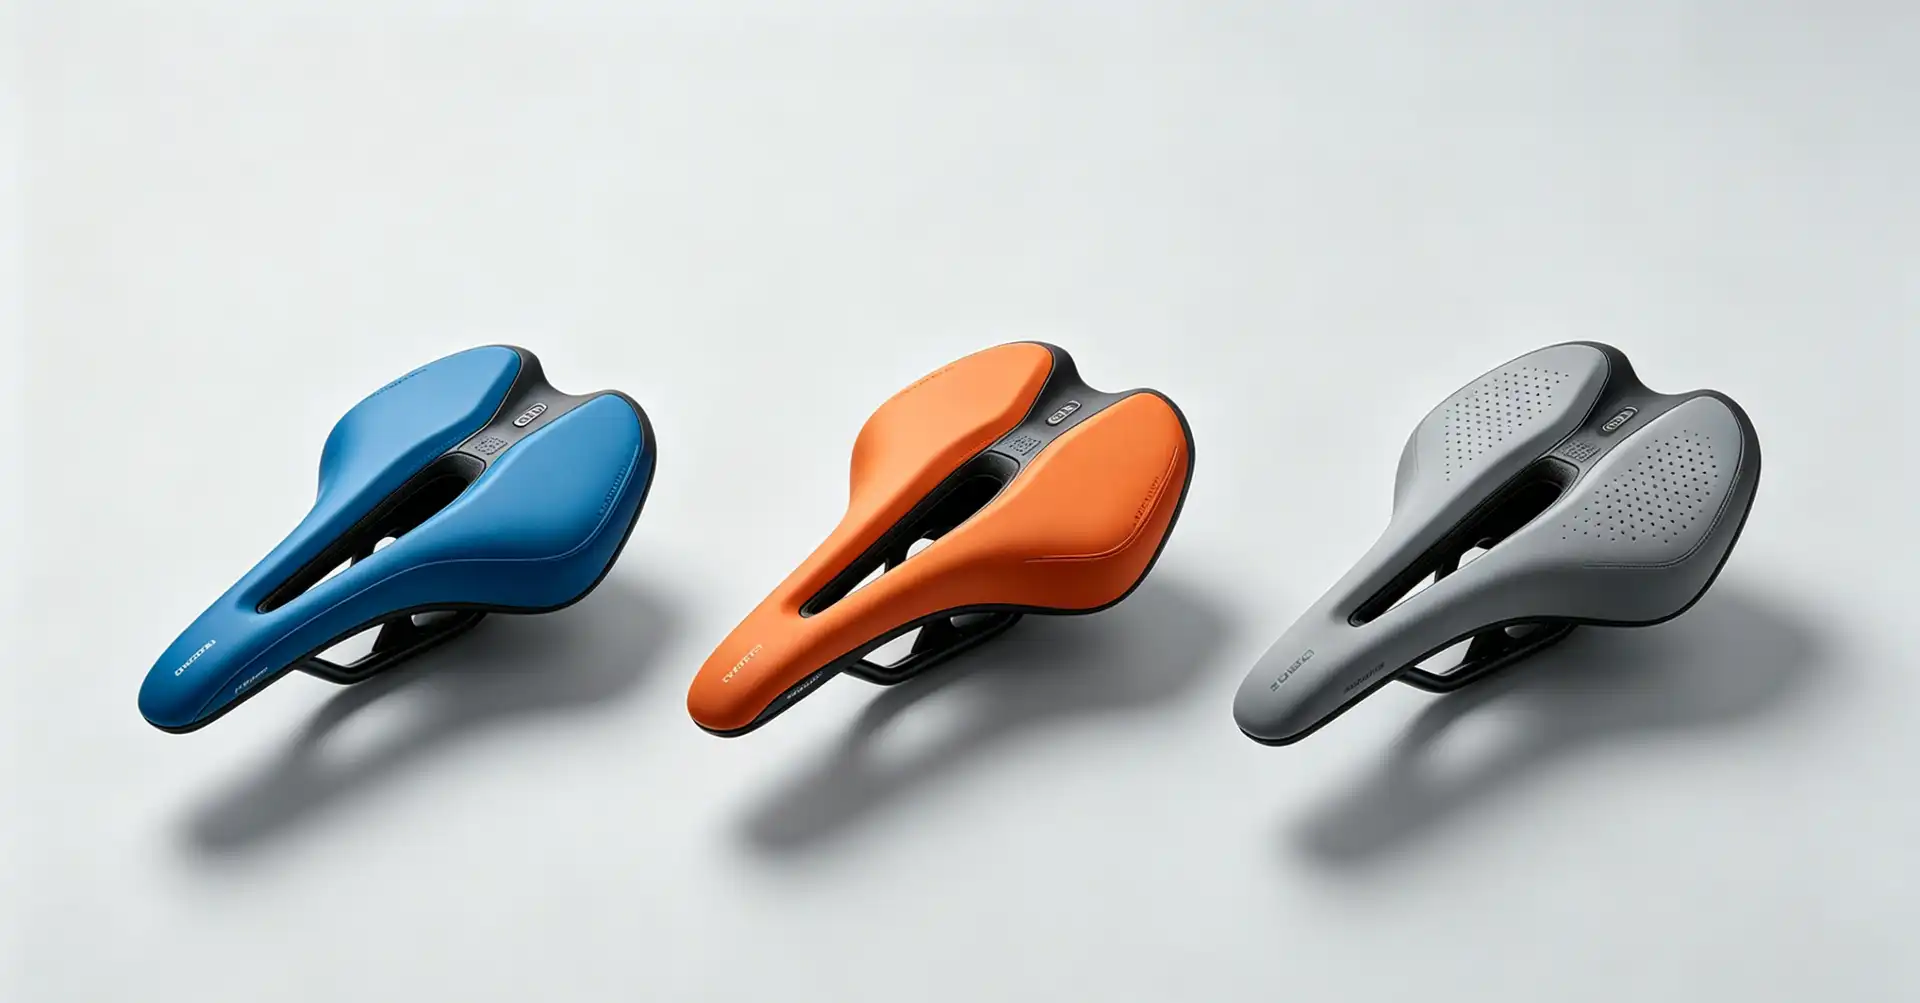
Saddle Shape: Flat vs. Curved
- Flat Saddle: Distributes weight evenly across the entire surface. Best for aggressive road riding where you shift position frequently.
- Curved (Dished) Saddle: Has a pronounced dip in the middle. This cradles your sit bones and prevents sliding forward. Best for upright or moderate riding.
Rails and Weight
- Steel Rails: Durable and affordable. Heavier, but offer a smooth ride.
- Chromoly/Cro-Mo Rails: A solid upgrade for durability and vibration damping.
- Titanium/Carbon Rails: Lightweight and excellent at dampening road vibrations. Expensive, but a great choice for long-distance comfort.
Material and Covering
The outer cover affects grip, breathability, and wear.
- Leather: High-end, molds to your sit bones over time. Requires care (proofing). Excellent for long tours.
- Synthetic (Microfiber, PU): Durable, easy to clean, and water-resistant. Most common on modern saddles.
- Textile (Nylon, Carbon Mesh): Very breathable. Often found on performance-oriented or high-end saddles.
Test Before You Buy
You cannot judge a saddle by its appearance. Use these strategies:
- The “Trace” Test: Take a piece of paper and trace the seating surface of a saddle you already find somewhat comfortable. Compare it to potential new saddles.
- The 60-Second Rule: Place the saddle on a stationary spot (like a counter) and sit on it in your riding clothes for one minute. If it feels instantly painful, it likely will not improve on the bike.
- Leverage Demo Programs: Many bike shops and online retailers offer a 30-day or 90-day comfort guarantee. This allows you to ride a saddle for a few weeks and return it if it does not work.
Final Checklist
Before you purchase, ask yourself these questions:
- [ ] Have I measured my sit bone width?
- [ ] Is my riding position primarily upright or leaning forward?
- [ ] Do I need a cutout or pressure relief channel?
- [ ] Am I choosing high-density foam over thick gel?
- [ ] Am I willing to use a demo program or visit a shop for fitting?
The Bottom Line
Comfortable bicycle seats are a personal choice, not a one-size-fits-all product. Prioritize proper fit (sit bone width) over thick padding. Invest in a saddle that matches your riding position and features a pressure relief channel if you are prone to numbness. Take advantage of demo programs, and remember that a short break-in period is normal. With the right saddle, you will ride longer, faster, and with a smile on your face.