Step-by-Step Guides for a Reliable & Safe Ride
A well-maintained bicycle is a joy to ride. It shifts smoothly, stops confidently, and glides effortlessly. More importantly, regular Bike Maintenance is the single best way to ensure your safety on the road and extend the life of every component on your bike. Whether you are a daily commuter or a weekend warrior, spending a little time on upkeep saves you money, prevents breakdowns, and keeps you rolling.
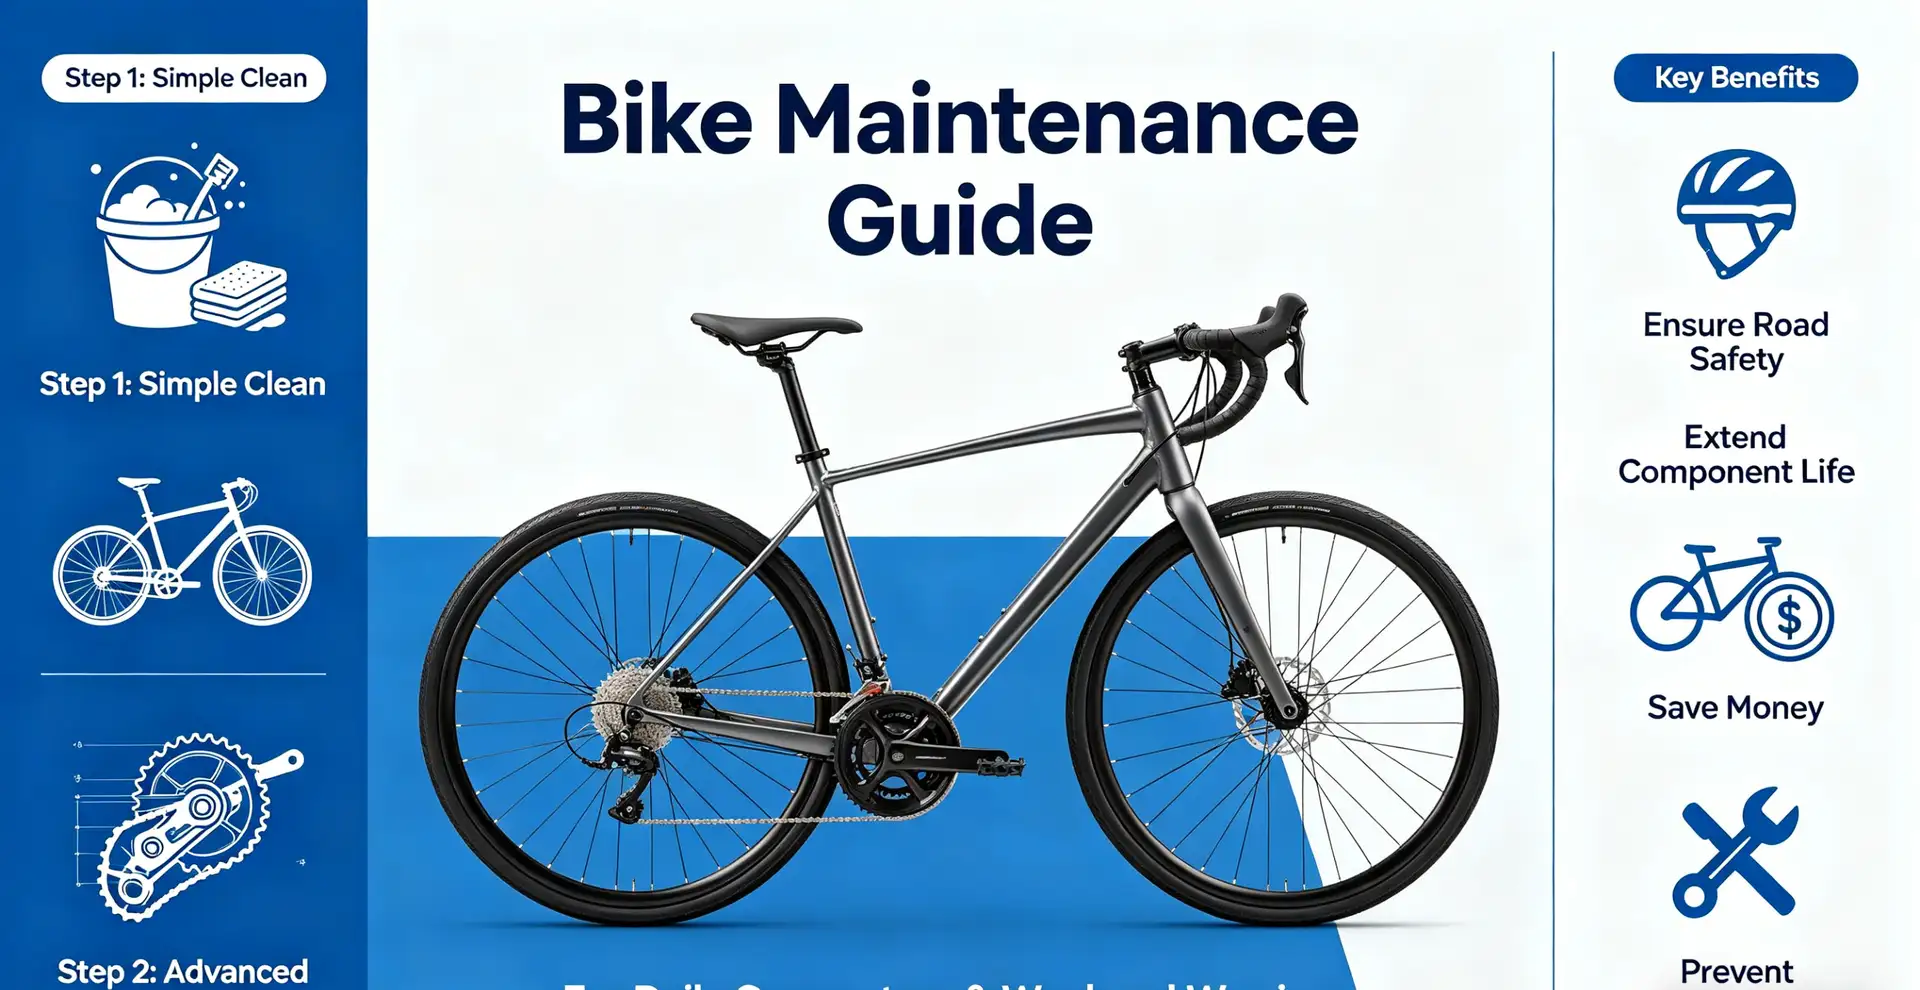
This guide will walk you through the essential steps of bike care, from a simple clean to advanced gear tuning.
Why Routine Bike Maintenance Matters
Neglecting your bike leads to premature wear, poor performance, and dangerous failures. A dry chain robs you of power. Grinding brakes won’t stop you in time. A dirty drivetrain shifts like sandpaper. By sticking to a consistent Bike Maintenance schedule, you can:
- Extend component lifespan: Clean and lubricated parts last significantly longer.
- Improve safety: Properly adjusted brakes and well-inflated tires are non-negotiable.
- Save money: Small fixes today prevent expensive replacements tomorrow.
- Enjoy a better ride: Smooth gears and silent hubs make every mile more fun.
Step 1: Cleaning Your Bike (The Foundation)
A clean bike is easier to inspect and diagnose. Grit and grime act like sandpaper on moving parts.
What You’ll Need:
- Bucket of warm, soapy water (use mild dish soap or bike-specific cleaner)
- Soft sponges and brushes (old toothbrushes work great for the drivetrain)
- A degreaser (for the chain and cassette)
- Clean rags and a hose (or a bucket of rinse water)
The Process:
- Rinse gently: Avoid blasting water into bearings (hubs, bottom bracket, headset).
- Degrease the drivetrain: Apply degreaser to the chain, cassette, and derailleur pulleys. Let it sit.
- Scrub: Use brushes to remove grime from the chain, gears, and frame.
- Rinse and dry: Use a hose (low pressure) or a wet rag. Dry thoroughly with a clean towel.
- Lubricate the chain: Apply a drop of lube to each roller, then wipe off the excess. A dry chain is a noisy chain; an over-lubed chain attracts dirt.
Step 2: Brake Adjustment (Safety First)
Squealing or weak brakes mean you need to act. Proper brake adjustment is critical Bike Maintenance.
For Rim Brakes:
- Check Pad Wear: Look at the grooves on the brake pads. If they are smooth, replace them.
- Align the Pads: Loosen the pad bolt. Squeeze the brake lever and center the pad so it hits the rim flat (not the tire). Tighten.
- Adjust Cable Tension: Turn the barrel adjuster (where the cable meets the brake lever) counter-clockwise to tighten the brakes. The levers should stop about an inch from the handlebar.
For Disc Brakes:
- Check for Rub: Spin the wheel. If you hear a scraping sound, the rotor is hitting the pad.
- Center the Caliper: Loosen the two bolts holding the caliper. Squeeze the brake lever firmly, hold it, and re-tighten the bolts. This self-centers the caliper.
- Check Pads: If braking feels spongy or you see metal on metal, replace the pads immediately.
Step 3: Gear Tuning (Shifting Like New)
Poor shifting is frustrating. Most issues come from cable tension or a bent derailleur hanger.
Adjusting Cable Tension:
- Shift to the smallest rear cog and the smallest front chainring.
- Tighten the cable: Turn the barrel adjuster counter-clockwise to pull more cable (helps shift to larger cogs).
- Loosen the cable: Turn the barrel adjuster clockwise (helps shift to smaller cogs).
- Test: Pedal and shift. Make small ¼-turn adjustments until the chain moves cleanly between gears.
The Limit Screws (H & L):
- High (H) Screw: Prevents the chain from shifting off the largest cog into the spokes.
- Low (L) Screw: Prevents the chain from shifting off the smallest cog into the frame.
- Go slowly with limit screws. Over-tightening can damage the derailleur.
Step 4: Tire Repair and Air Pressure
A flat tire ruins a great ride. Knowing how to fix one on the spot is essential Bike Maintenance knowledge.
How to Fix a Flat:
- Remove the wheel: Use quick-release or axle nuts.
- Remove the tire: Use tire levers to pry one side of the tire off the rim.
- Pull out the tube: Find the hole (listen for air or use water).
- Find the cause: Run your finger inside the tire to find the thorn or glass shard. Remove it!
- Install a new tube: Inflate it slightly first. Tuck it inside the tire, being careful not to pinch it.
- Seat the tire: Use your hands to push the tire bead back onto the rim. Inflate to the recommended PSI (printed on the tire sidewall).
Pro Tip: Check tire pressure before every ride. Lower pressure = more grip and comfort but higher risk of pinch flats.
Step 5: Prolonging Component Lifespan
The golden rule of Bike Maintenance is simple: Keep it clean and keep it lubricated.
- Chain Life: Replace your chain every 1,500–2,000 miles to save your cassette and chainrings from wear.
- Cables & Housing: Replace them annually or when shifting feels sluggish and brakes feel stiff. Rusty cables snap easily.
- Bearings: Check for play in your headset, hubs, and bottom bracket. If you feel clicking or roughness, get them serviced immediately.
- Suspension: If you have a mountain bike, wipe down the stanchions (shiny tubes) after every ride. Get a full service annually.
Final Checklist for a Safer Ride
Before every ride, complete this 30-second check:
- [ ] Tires: Inflated to correct pressure? No cuts or bulges?
- [ ] Brakes: Squeeze levers. Do they feel firm and stop the wheel?
- [ ] Chain: Is it clean and lightly lubed? (No rust or stiff links)
- [ ] Bolts: Are the handlebars, stem, and seatpost tight?
By committing to regular Bike Maintenance, you don’t just protect your investment—you ensure that every journey is safe, efficient, and enjoyable. Your bike will thank you with thousands of reliable miles.