The Park Tool DT-5.2 Disc Brake Mount Facing Set is a specialized precision instrument designed to mill the disc brake mounting surfaces on bicycle frames and forks so they sit perfectly parallel to the brake rotor. Proper use of this tool guarantees correct disc brake installation and reliable braking performance. Before you begin, read the entire instruction set carefully. It is also wise to check with the frame or fork manufacturer regarding any specific guidance, warnings, or warranty conditions that may apply before you face the brake mounts.
The steps below reference the part numbers shown in the DT-5.2 parts diagram, which is included on the product instruction sheet.
Important Precautions
The DT-5.2 is a precision instrument and must be handled and stored carefully. Keep all components clean, and after each use wipe the cutter with an oiled rag or apply a rust inhibitor. Return the tool to its original case or another secure spot for storage.
The cutter will eventually dull and should be replaced or professionally sharpened on a regular basis. Park Tool provides a sharpening service that restores cutters to factory tolerances. See the Tool Sharpening page for details.
Safety glasses must be worn at all times while operating the DT-5.2.
Facing IS Mounts
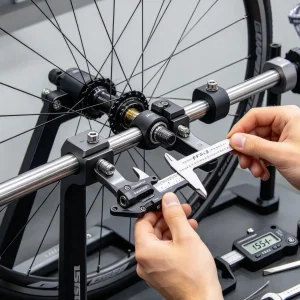
First, identify the axle type, axle diameter, and dropout spacing of your frame or fork. Put the DT-5.2 together following the instruction sheet. Use the pinch bolt on the axle collar (#29) to set the axle width so it matches the frame or fork spacing.
Insert the axle of the assembled tool firmly into the frame or fork dropouts.
Release the pivot bolt (#6), then slide, pivot, and rotate the arm (#10) until the cutter pilot fits into the hole on the lower mount. Lock the position by tightening the pivot bolt.
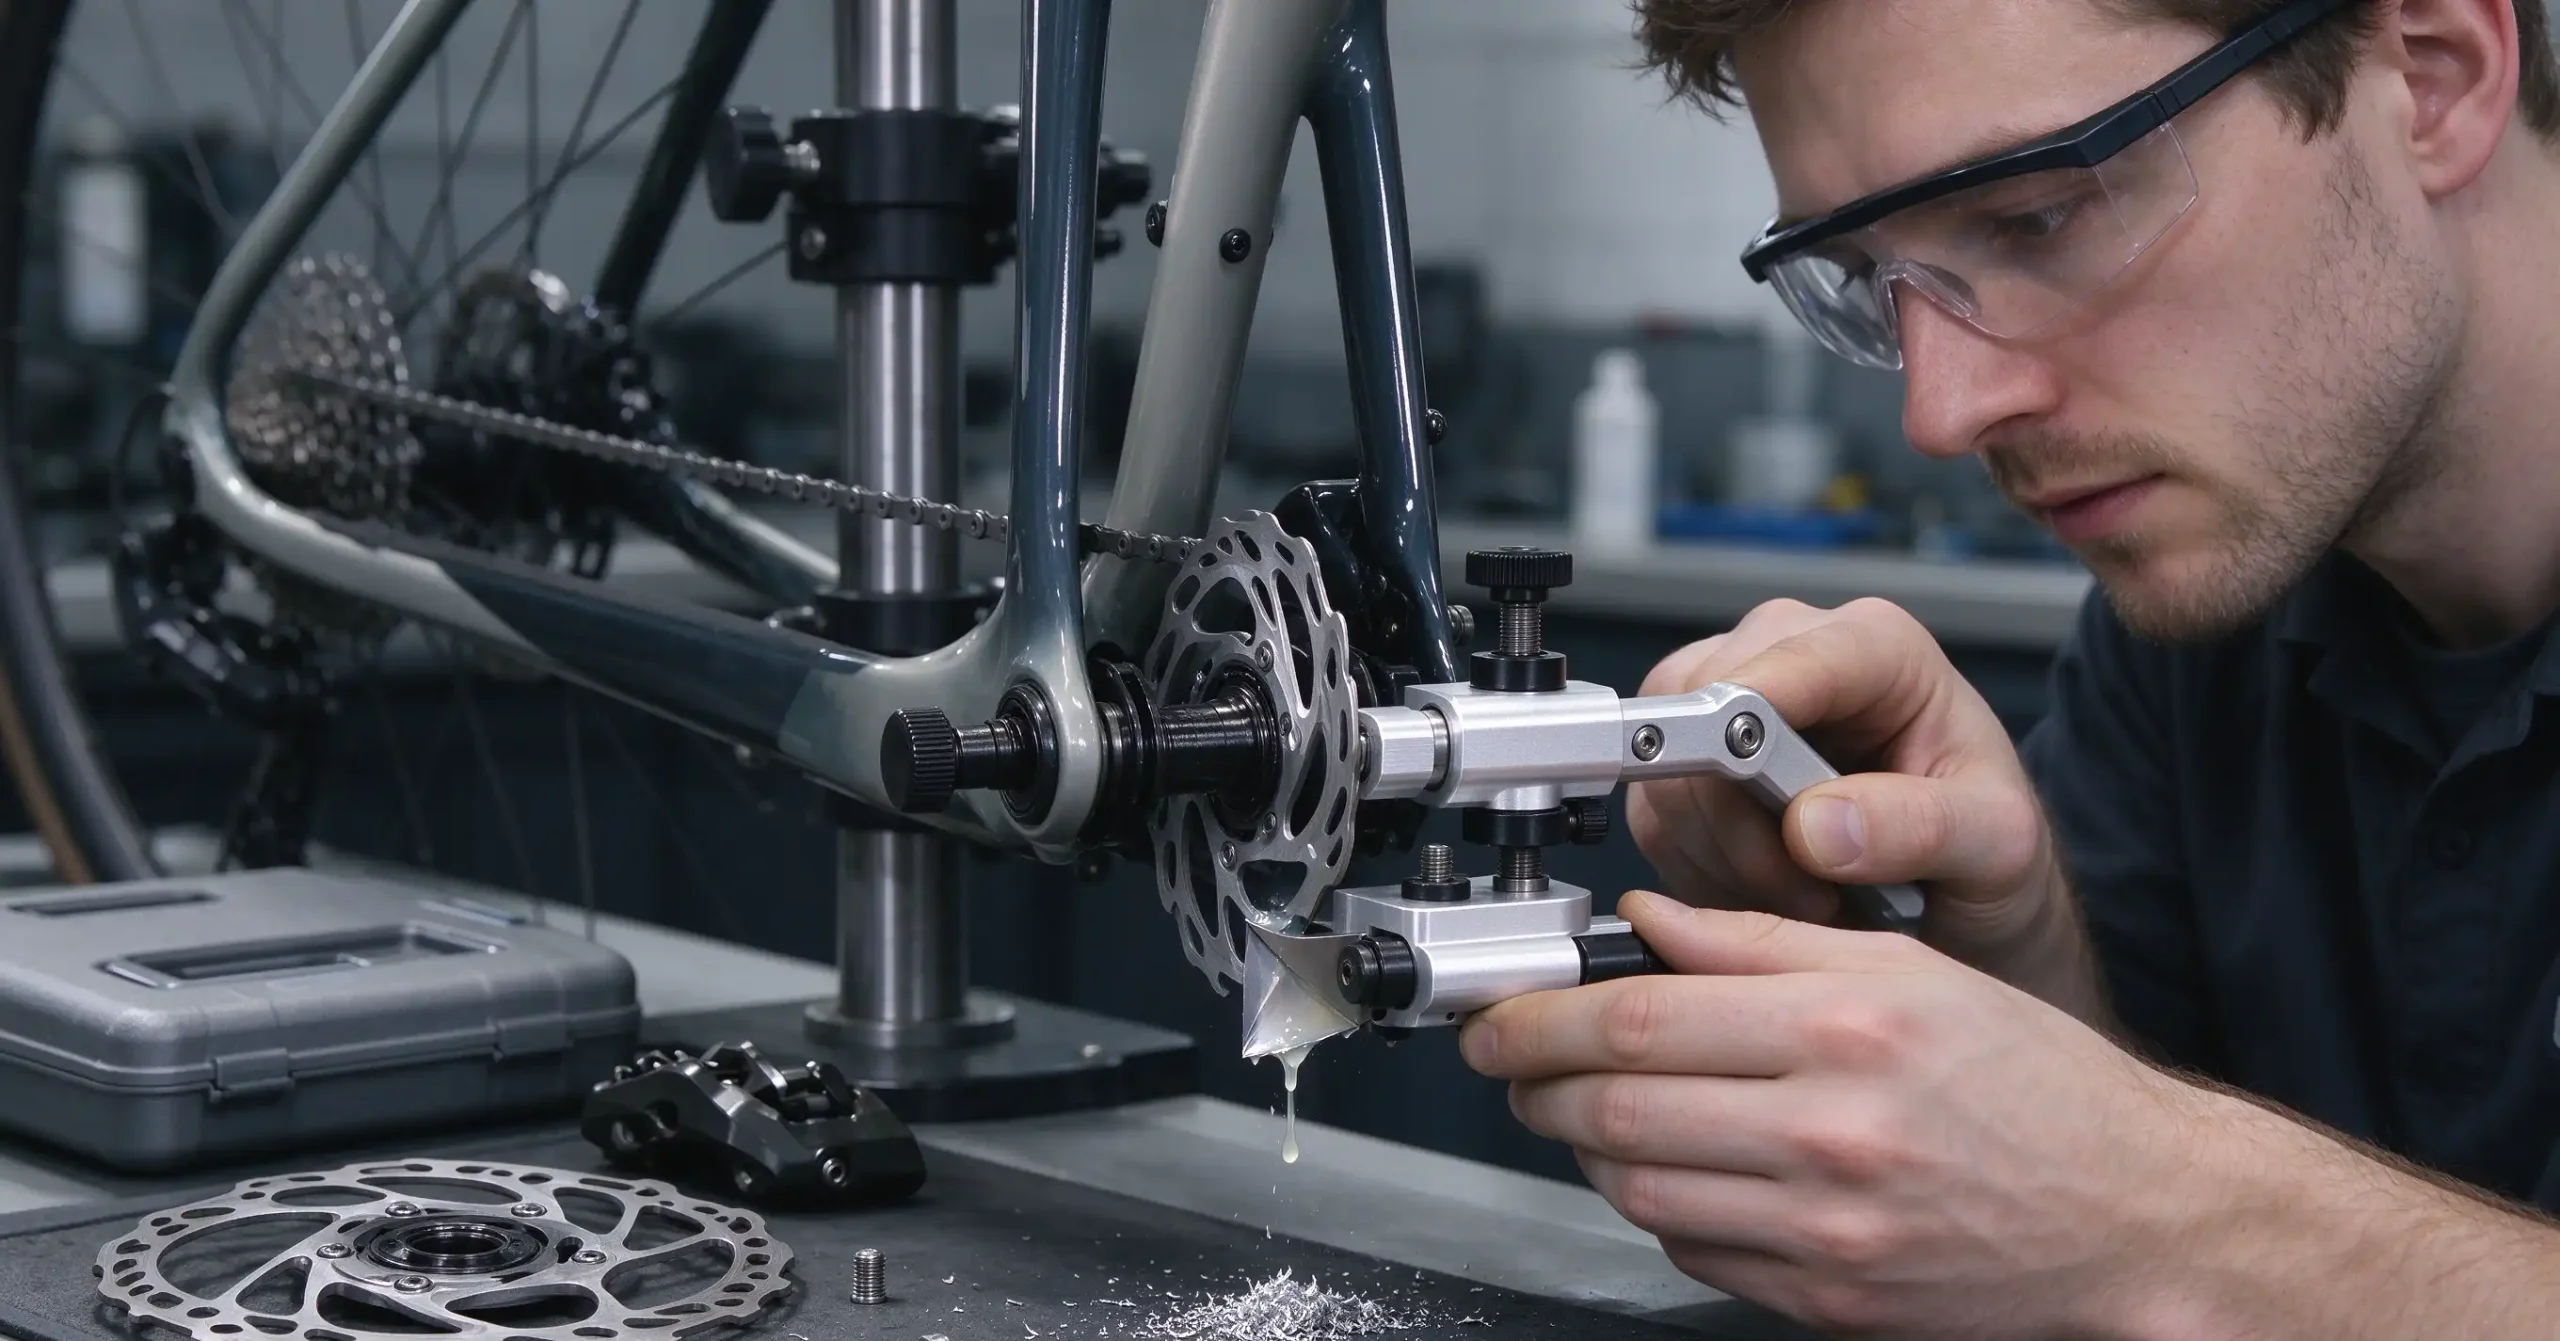
Attach the knob (#9) to the arm (#10). Rotate the knob clockwise by hand while pressing inward to face the lower mount. Apply a suitable cutting fluid, such as Park Tool CF-2, and remove only the minimum material needed to achieve a flat mounting surface. Tip: An 8 mm hex wrench or a ratcheting wrench with an 8 mm hex bit can speed up the process.
Once the cutter teeth touch the face of the lower mount, slide the stop collar (#3) until it meets the slider (#11). Tighten the pinch bolt on the stop collar to lock it. This establishes the cutter depth and prevents over-cutting.
Move the arm (#10) and slider (#11) along the axle to withdraw the cutter from the lower mount.
Slightly loosen the pivot bolt (#6). Slide, pivot, and rotate the arm (#10) to insert the cutter pilot into the hole on the upper mount. Tighten the pivot bolt to secure the position.
Examine where the cutter teeth sit. If the teeth make contact with the upper mount and a gap remains between the stop collar (#3) and the slider (#11), complete step I and stop. If the stop collar (#3) reaches the slider (#11) before the cutter teeth touch the upper mount, skip step I and proceed directly to steps J through N.
Turn the knob (#9) clockwise with hand pressure to face the upper mount surface. Keep cutting until the stop collar (#3) meets the slider (#11). Facing is now complete. Remove the DT-5.2 from the frame or fork.
Loosen the pinch bolt on the stop collar (#3).
Rotate the knob (#9) clockwise with hand pressure to face the upper mount surface.
When the cutter teeth contact the upper mount face, slide the stop collar (#3) until it meets the slider (#11). Tighten the stop collar pinch bolt to lock it.
Slightly loosen the pivot bolt (#6). Slide, pivot, and rotate the arm (#10) to insert the cutter pilot into the hole on the lower mount. Tighten the pivot bolt to secure it.
Turn the knob (#9) clockwise with hand pressure to face the lower mount surface. Continue until the collar meets the slider. Facing is complete. Remove the DT-5.2 from the frame or fork.
Facing Post Mounts and Post Mount Adapters
Identify the axle type, axle size, and dropout width of the frame or fork. Assemble the DT-5.2 per the instruction sheet. Use the pinch bolt on the axle collar (#29) to match the axle width to the frame or fork.
Insert the assembled tool’s axle securely into the dropouts.
Loosen the pivot bolt (#6), the pinch bolt on the body (#1), and the pinch bolt on the stop collar (#3) just enough to let the parts slide, pivot, and rotate.
Position arm (#8) so both “wings” touch the two mounts at the same time. Tighten the pivot bolt (#6) to lock it, then tighten the pinch bolt on the body (#1) to secure it.
Attach the knob (#9) to arm (#8).
Loosen the pivot bolt (#6) and raise arm (#8) and slider (#11) on the shaft (#2). Pivot and rotate as needed to insert the 5 mm pilot (#28) into the hole on the lower mount. Tighten the pivot bolt (#6) to lock it. Note: The DT-5.2 ships with two pilot bolts—one with a 5 mm pilot (#28) and one with a 4 mm pilot (#26). For post mounts, use the 5 mm pilot bolt (#28).
Rotate the knob clockwise with hand pressure to face the mount. Apply an appropriate cutting fluid, such as Park Tool CF-2, and remove only the minimum material necessary for a flat surface. Tip: A ratcheting wrench with an 8 mm hex bit or a Park Tool PH-8 Hex Wrench can speed things up.
When the cutter teeth contact the lower mount face, slide the stop collar (#3) until it meets the slider (#11). Tighten the stop collar pinch bolt to lock it. This sets the cutter height and prevents additional cutting.
Slightly loosen the pivot bolt (#6). Raise arm (#8) and slider (#11) on the shaft (#2), then pivot and rotate to insert the cutter pilot into the hole on the upper mount. Tighten the pivot bolt to lock it.
Check the cutter teeth position. If the teeth contact the upper mount and a gap exists between the stop collar (#3) and slider (#11), complete step K and stop. If the stop collar (#3) meets the slider (#11) before the cutter teeth touch the upper mount, skip step K and go directly to steps L through P.
Turn the knob (#9) clockwise with hand pressure to face the upper mount surface. Continue until the stop collar (#3) meets the slider (#11). Facing is complete. Remove the DT-5.2 from the frame or fork.
Loosen the stop collar (#3) pinch bolt.
Turn the knob (#9) clockwise with hand pressure to face the upper mount surface.
When the cutter teeth contact the upper mount face, move the stop collar (#3) until it meets the slider (#11). Tighten the stop collar pinch bolt to lock it.
Slightly loosen the pivot bolt (#6). Raise arm (#8) and slider (#11) on the shaft (#2), then pivot and rotate to insert the cutter pilot into the hole on the lower mount. Tighten the pivot bolt to lock it.
Turn the knob (#9) clockwise with hand pressure to face the lower mount surface. Continue until the stop collar (#3) meets the slider (#11). Facing is complete. Remove the DT-5.2 from the frame or fork.
Facing Flat Mounts
Determine the axle type, axle size, and dropout width of the frame or fork. Assemble the DT-5.2 according to the instruction sheet. Use the pinch bolt on the axle collar (#29) to adjust the axle width to match the frame or fork.
Install the assembled tool’s axle securely into the dropouts.
Loosen the pivot bolt (#6), the body pinch bolt (#1), and the stop collar pinch bolt (#3) just enough to allow sliding, pivoting, and rotation.
For flat mounts on a frame: Insert two unthreaded alignment studs (#24) into the mount holes. Adjust arm (#8) so both “wings” contact the two alignment studs simultaneously. Tighten the pivot bolt (#6) to lock it, then tighten the body pinch bolt (#1) to secure it. For flat mounts on a fork: Thread two threaded alignment studs (#27) into the mount holes. Adjust arm (#8) so both “wings” contact the studs at the same time. Tighten the pivot bolt (#6) to lock it, then tighten the body pinch bolt (#1) to secure it.
For flat mounts on a frame: Attach knob (#9) to arm (#8). The DT-5.2 includes two pilot bolts. When facing flat mounts on a frame, install the pilot bolt with the 5 mm pilot (#28) on the arm. For flat mounts on a fork: Attach knob (#9) to arm (#8). The DT-5.2 includes two pilot bolts. When facing flat mounts on a fork, install the pilot bolt with the 4 mm pilot (#26) on the arm.
Loosen the pivot bolt (#6) and raise arm (#8) and slider (#11) on the shaft (#2). Remove the two alignment studs (#24 or #27), then pivot and rotate the arm and slider to insert the cutter pilot into the hole on the lower mount. Tighten the pivot bolt (#6) to lock it.
Turn the knob (#9) clockwise with hand pressure to face the mount. Use an appropriate cutting fluid, such as Park Tool CF-2, and cut only the minimum required for a flat surface. Tip: A ratcheting wrench with an 8 mm hex bit or a Park Tool PH-8 Hex Wrench can be used for faster turning.
When the cutter teeth contact the lower mount face, move the stop collar (#3) until it meets the slider (#11). Tighten the stop collar pinch bolt to lock it. This sets the cutter height and prevents further cutting.
Slightly loosen the pivot bolt (#6). Raise arm (#8) and slider (#11) on the shaft (#2), then pivot and rotate to insert the cutter pilot into the hole on the upper mount. Tighten the pivot bolt to lock it.
Check the cutter teeth position. If the teeth contact the upper mount and a gap remains between the stop collar (#3) and slider (#11), complete step K and stop. If the stop collar (#3) reaches the slider (#11) before the cutter teeth touch the upper mount, skip step K and proceed to steps L through P.
Turn the knob (#9) clockwise with hand pressure to face the upper mount surface. Continue until the stop collar (#3) meets the slider (#11). Facing is complete. Remove the DT-5.2 from the frame or fork.
Loosen the stop collar (#3) pinch bolt.
Turn the knob (#9) clockwise with hand pressure to face the upper mount surface.
When the cutter teeth contact the upper mount face, move the stop collar (#3) until it meets the slider (#11). Tighten the stop collar pinch bolt to lock it.
Slightly loosen the pivot bolt (#6). Raise arm (#8) and slider (#11) on the shaft (#2), then pivot and rotate to insert the cutter pilot into the hole on the lower mount. Tighten the pivot bolt to lock it.
Turn the knob (#9) clockwise with hand pressure to face the lower mount surface. Continue until the stop collar (#3) meets the slider (#11). Facing is complete. Remove the DT-5.2 from the frame or fork.